How to Install Facebook Pixel with Google Tag Manager

by webgenix
Using Google Tag Manager (GTM) to help implement Facebook pixels will help you consistently and easily track conversion and events from your website.
If you use Facebook ads to acquire traffic, you need to use Facebook Pixel to measure the success of your paid campaigns. Whenever a visitor converts, you should track that conversion (e.g., lead, signup, etc.) with the pixel.
How to get Facebook Pixel code?
Step 1. firstly navigate to Facebook business account
https://business.facebook.com/
Step 2. Make sure you have ‘Manage Ad Account’ Access
Step 3. let’s go to the Facebook Pixel Business manager and get the Pixel ID
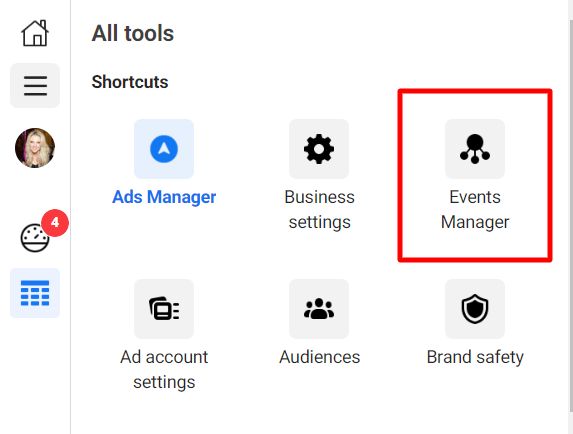
In the top right corner, click the Menu icon and go to Events Manager.
Step 4
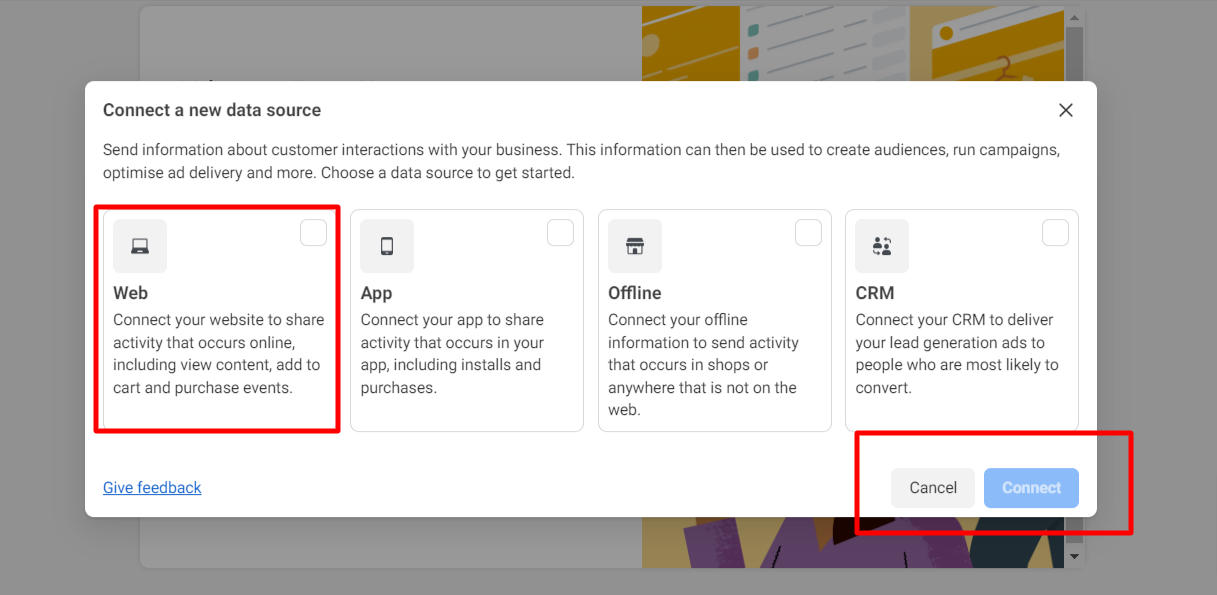
Now, Create a new data source, Click on ‘Connect a Data Source’
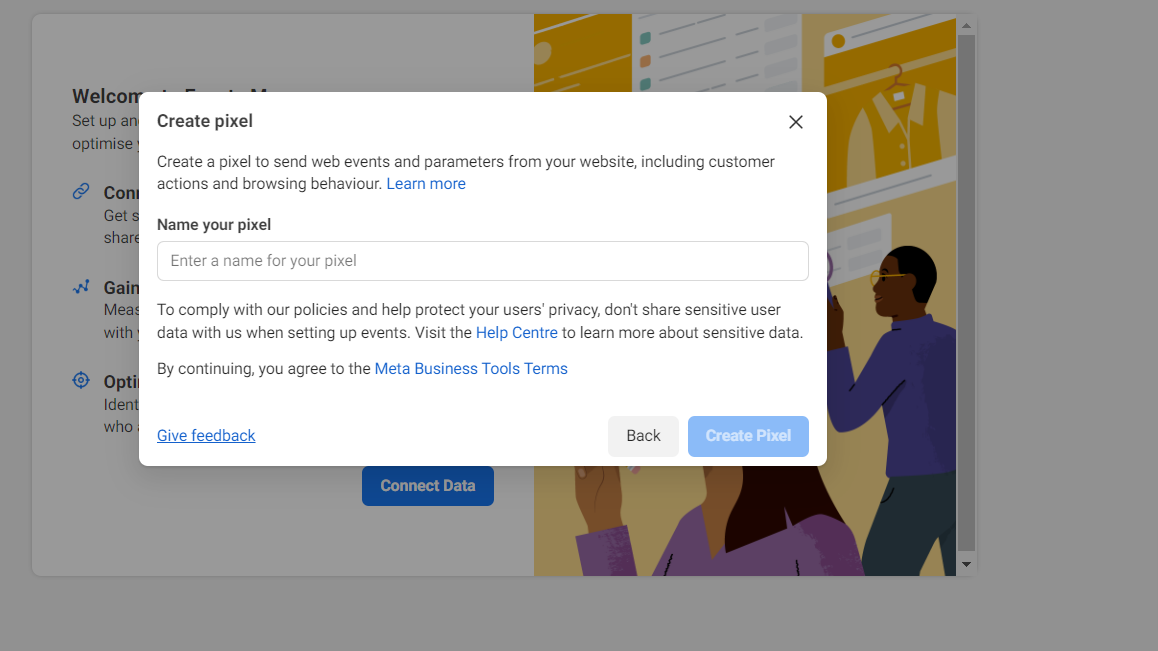
Step 5: Click on Web and then Connect with your website
Enter the name of your pixel or create pixel name ( Either your website name or Short name of domain )
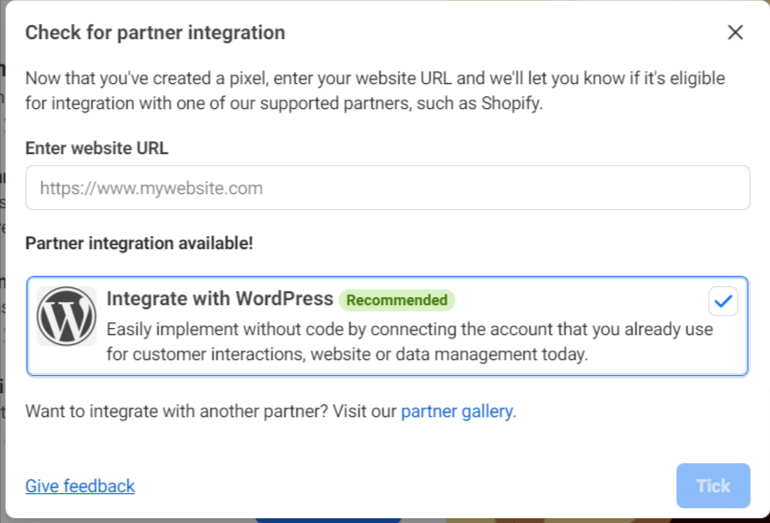
Step 6: Insert website URL. Once you added website URL. It will auto suggest you the integration method.
Step 7:
Click on Pixel only and next.
Step 8: Now you see a window like the one below.
Click on ‘Use a partner integration’
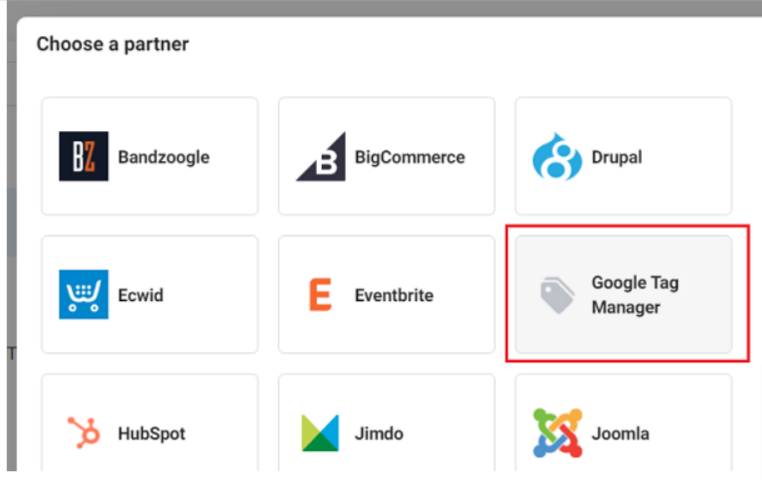
Step 9 : click on Google Tag Manager
Step 10: Click on Next Button
Recommended Posts

How Semantic SEO Improves the Search Experience
November 8, 2023

Top 5 Ways to Get More Phone Calls Google My Business Profile
October 4, 2023

Technical SEO Tips for Multilingual Websites: Tips and Tricks
September 3, 2023

